Senua Saga HellBlade 2 All Face Location Hidden Trees
Senua Saga HellBlade 2 is an action-adventure story-driven game where you play as the main protagonist Senua on her journey to fulfill the promise. This is the sequel to one of the popular games released on 2017 called Hellblade: Senua’s Sacrifice.
You will find different types of puzzles, collectibles, and hidden areas you can uncover while playing or exploring the game. One such hidden collectibles are the faces and there are 17 of them that you need to find. Upon discovering all the faces you will unlock an achievement called “Glimpses of the Gods”. Below you will find a brief guide on where to find all the faces.
Senua Saga HellBlade 2 All Face Location Hidden Trees
Face One

You can find the first hidden face in chapter 2 after getting Senua’s mirror and the fighting scene. After the scene, you will go through a house with a man hanging by the hook. Upon exiting the house on the left you will find a fire torch near the house. Go near the torch and on the right of it you will find the face on which you need to use the focus ability.
Face Two
The second face is at the end of chapter two where you will meet Fargrimr near the bridge. Instead of going through the bridge on the left side, you will find a small path leading to the second face.
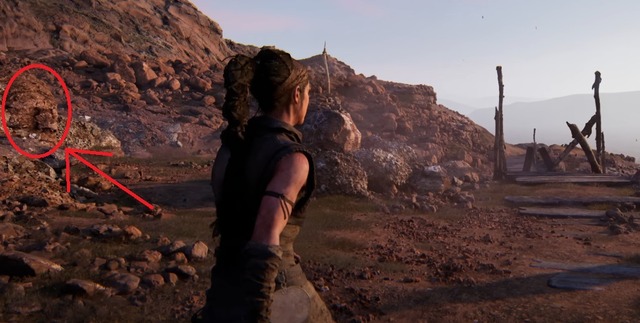
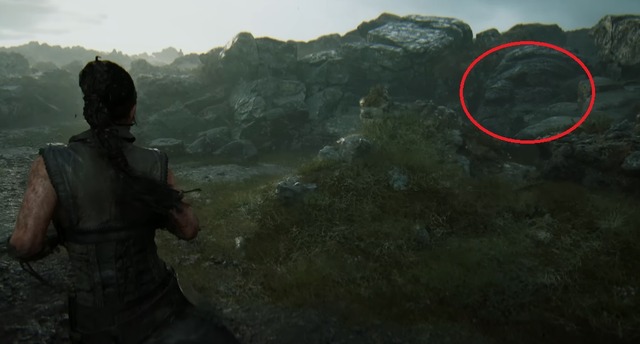
Face Three
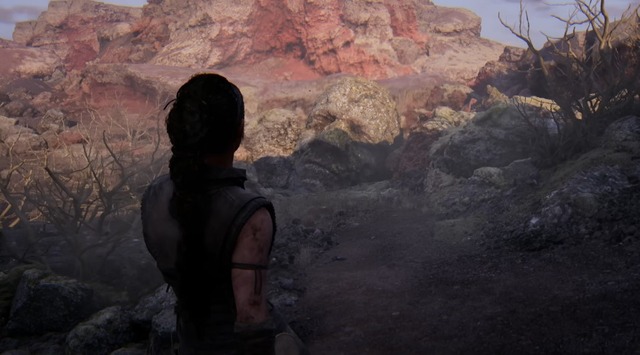
In Chapter 3, the Red Hill checkpoint, while going down the hill go towards the left side path till the end and you will find a face as shown in the image above.
Face Four
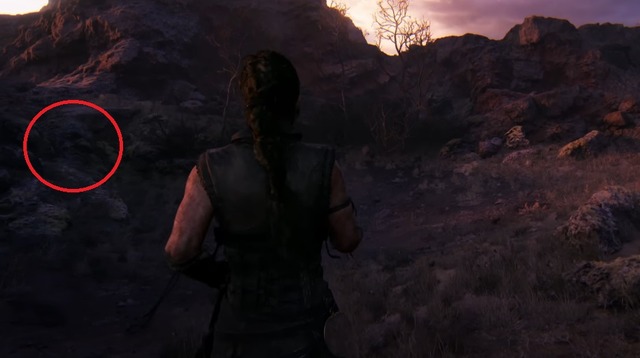
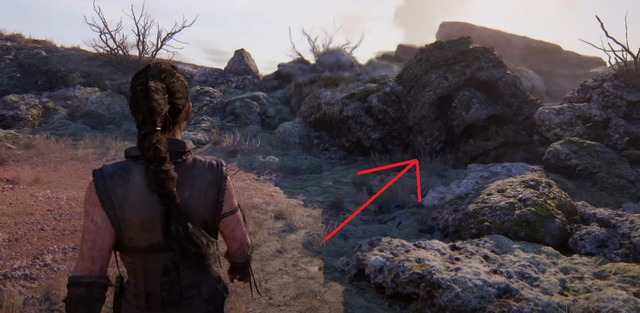
While going down the same hill, instead of going towards the left you need to go towards the right till the dead end to find another face.
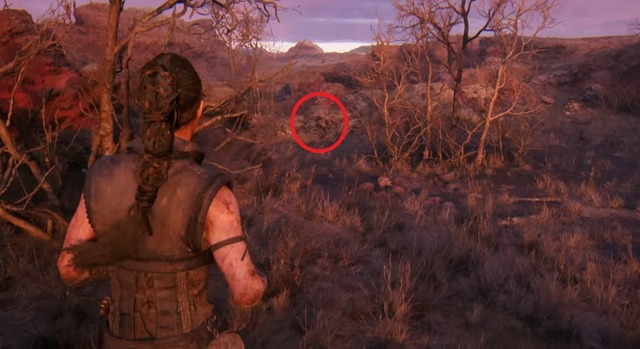
Face Five
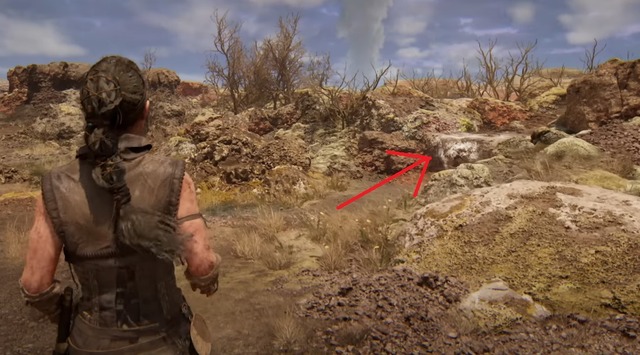
After clearing the forest area in Chapter 3 you will reach the Red Hill settlement. After the cutscene with Fargrimr, follow the main path to climb down the ladder. Then you need to follow a linear straight path, on the right you will find a puddle of water. Keep going through that path to find a face at the end as shown in the image above.
Face Six
After encountering the first pedestal puzzle where you need to find two orbs you will find the sixth face. Complete the puzzle that will open up a pathway that will help you exit the area. Go through the pathway and on the right you will find the face.
Face Seven
After completing the second pedestal puzzle in Chapter 3 On The Hill checkpoint, a pathway will open where you will find two ledges that will lead you down the hill. Once you are down the hill, there will be a linear straight path that you need to follow. Keep an eye on the right to find two more ledges that you need to climb up to find the face.
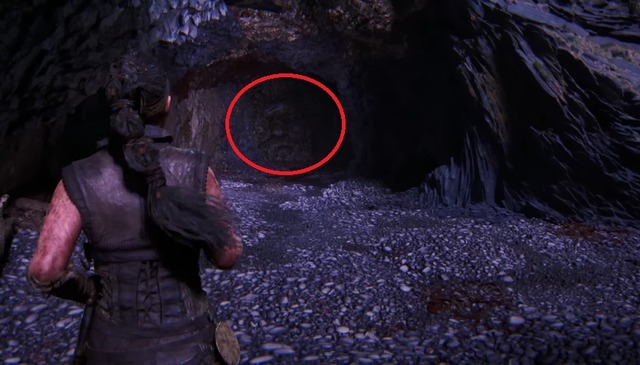
Face Eight
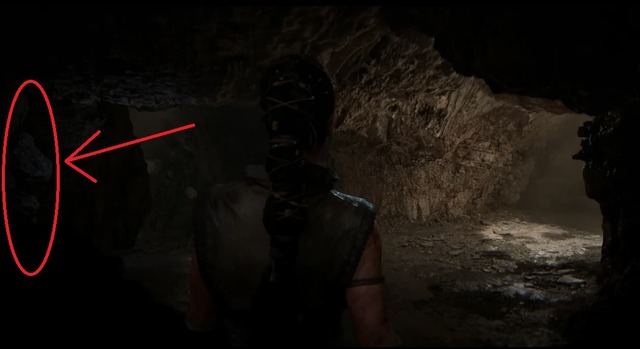
At the start of chapter 4 while entering the caves you will pass through small spaces and drop down the ledge. Once you enter an area with a bigger space, look onto your left side to find the face.
Face Nine
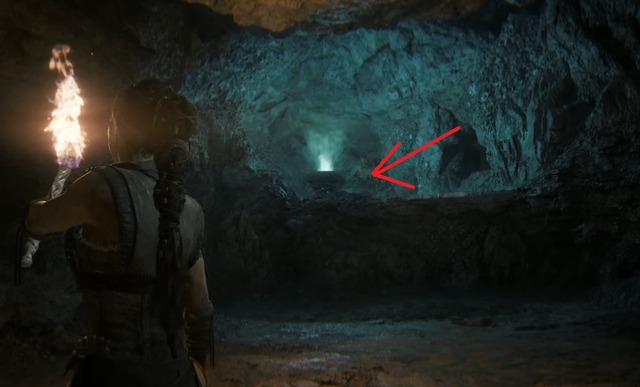
In Chapter 4 you will encounter a challenge of a locked door that will only open up by interacting with the blue flame. Once you interact with the flame, do not drop down instead look back to find a new area unlocked by interacting with the flame. Here you will find one of the faces.
Face Ten
After finding the previous face progress through the game till you drop down a hole. Once you are down, look back to find the face.
Face Eleven
In Chapter 4 Art of Sacrifice, you will come across an area with two paths leading left and right. There you will also find some floating stones. Instead of taking any path, look onto your left side to find the face hidden in the dark.
Face Twelve
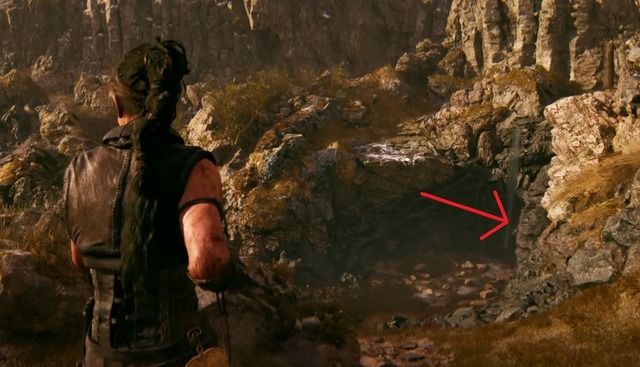
In Chapter 5 To The Sea, while going downhill on the right you will find a very small waterfall. There you will find the first face of chapter 5.
Face Thirteen
In Chapter 5, Sjavarrisi while walking with Astrior and following a linear path you will come across an area where she will squeeze through some rocks. Instead of following her, look to your right to find a face.
Face Fourteen
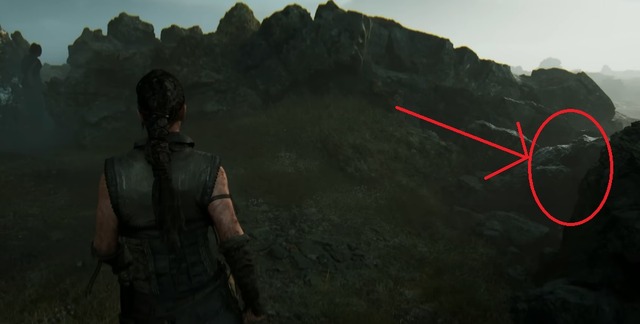
In Chapter 5, Sjavarrisi after solving the rune gate that has the number six on it, you will come across an area near the cliff where you can see the sea. Instead of looking at the sea, look to your right to find a face.
Face Fifteen
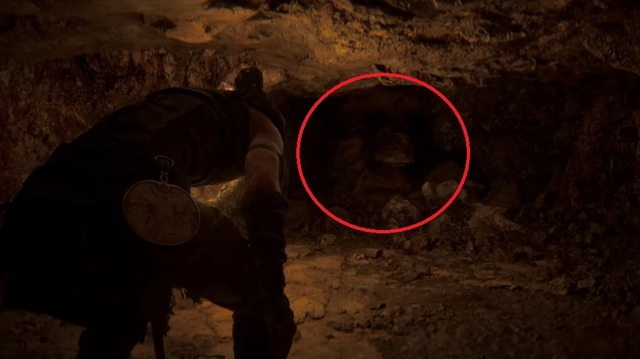
Near the beach where you need to solve the three-symbol puzzle. Interact with the orb to find a secret path that has a blue fog. Enter the secret path to find yourself in a tunnel. While going through the tunnel you might miss the face on the right. But while coming back from the tunnel you can find the face as shown in the image above. This is also the area where you will find the Lodestone 17.
Face Sixteen

In Chapter 5, Another Question checkpoint upon reaching the village where you will see the giant illusion in the rain you will find some torches guiding you on the path. Upon entering the village you will find a few bells hanging from a wooden pole after crossing two flame torches. There on the right, you will find a pathway that will lead you to the face.
Face Seventeen

After finding the sixteenth face, go back to the bells and follow the main path a bit. Instead of going straight, you need to take the path on the left till the very end. At the end of the pathway, you will find a house with lights on. Behind the house, you will find the final face in Senua Saga Hellblade 2.