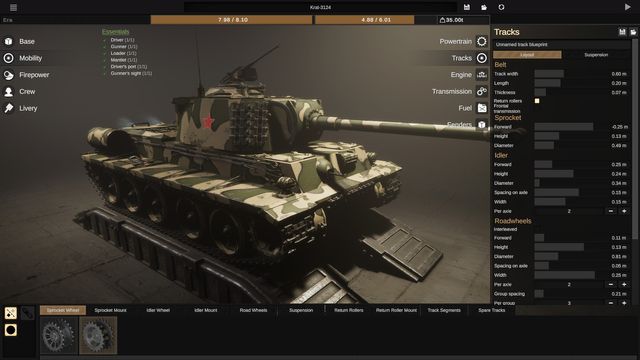
Sprocket- How To Add Blueprints Of Premade Tank In Scenario Mode

In Sprocket, you can design and customize your own tank from the scratch and once the essential requirement or the condition has been met it can be driven flawlessly. However, from the beginning, there is no tank assigned or provided to you that would be served as a test run. There should be premade custom tanks or blueprints of the tanks which can be accessed. For that, we might have to tinker and make some changes to game files in order to add and drive the premade rival tanks.
How To Add Blueprints Of Premade Tank In Scenario Mode At Sprocket
You will need to locate the game profile first where you need to paste the blueprint and for that, you need to look in either of these locations. The game should have created a folder in either of these directories:
- This PC\Local Disk C:\SteamLibrary\steamapps\common\Sprocket\My Games\Sprocket\Factions\Default\Blueprints\Vehicles
- This PC\Documents\My Games\Sprocket\Factions\Default\Blueprints\Vehicles
Now we know where the blueprint should be pasted. We now dig into the files which should be fairly straightforward.
- Right-click on the game and select Properties.
- Select Local Files
- Select Browse…
Once the folder where the game has been installed is open. Follow the directory as mentioned below:
- This PC\Local Disk C:\SteamLibrary\steamapps\common\Sprocket\Sprocket_Data\StreamingAssets\Blueprints\Vehicles
Here bunch of folders from Earlywar to Latewar and WW1 blueprints are located. Copy the blueprint and paste it on the specific directory as mentioned above at either of the two directories depending on where the profile is located. For ex- The Blueprint must be added in the Earlywar, Midwar, or Latewar according to your preference in order to spawn them on that era. You can add a bunch of tank blueprints by this process and save them in order to let the game generate the icon of the tank.