Ratchet & Clank Rift Apart All Lorbs Location Hunt For Lombax Lore Guide

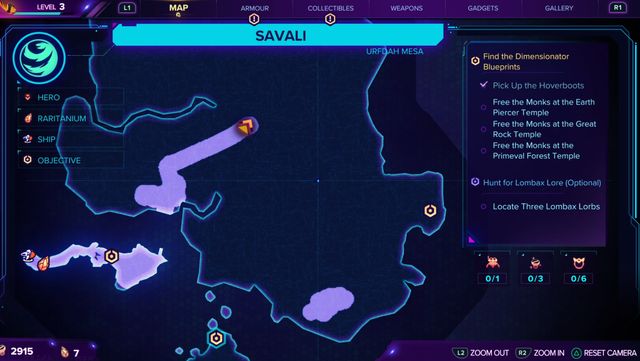
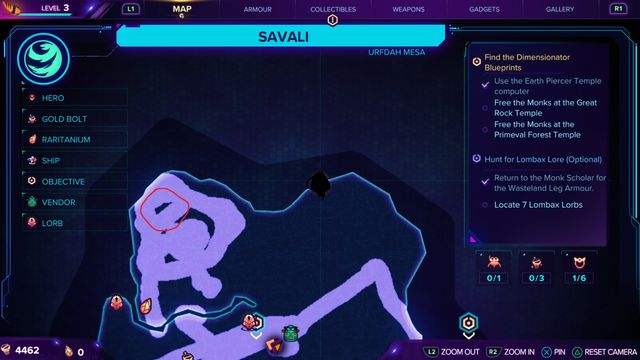
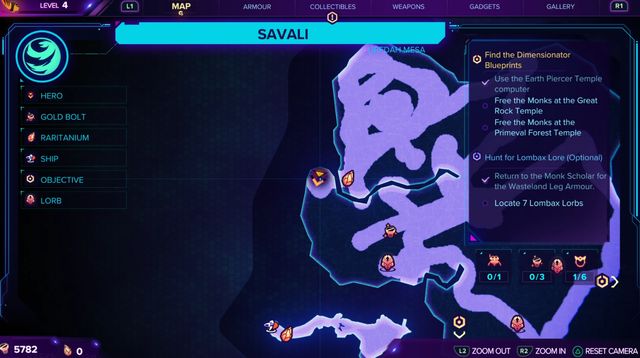
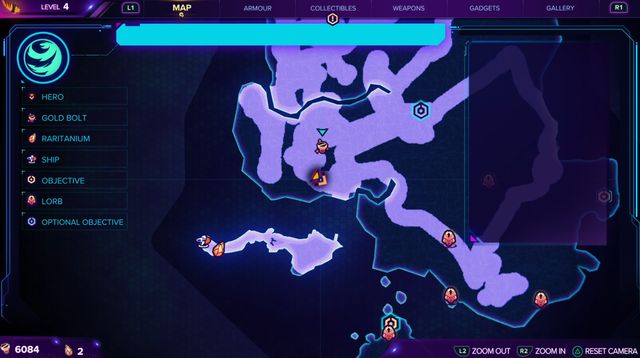
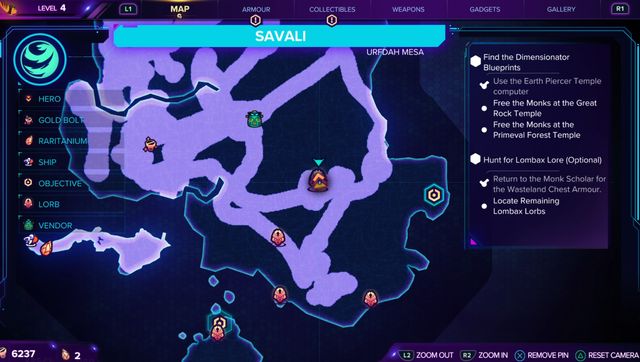
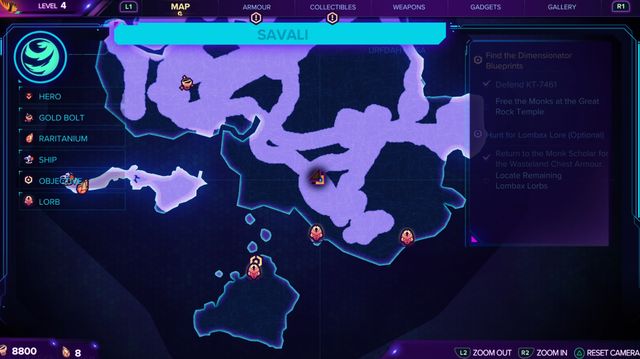
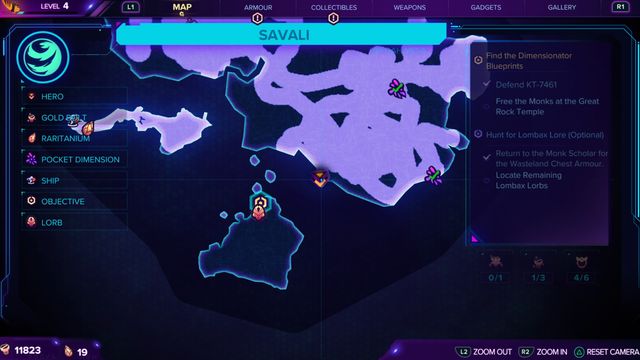
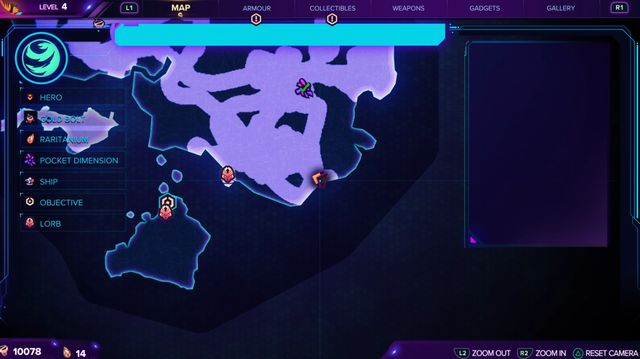
Ratchet & Clank Rift Apart is the sequel to Ratchet & Clank Into the Nexus that has released in 2013. This is an action third-person shooter game developed by Insomniac Games. The lorbs are the ancient artifacts created by the Lombax and are placed in the shrine. To complete the optional quest of world Savali “Hunt For Lombax Lore” you need to find all 12 shrines located across the map.
Once you find a shrine, you need to activate it and collect the lorb inside it. A Monk scholar will give you the optional task to collect all the lorbs and in return, you will get the wasteland armor set. You will get the leg gear after collecting 3 lorbs, chest gear after collecting 7 lorbs, and headgear after collecting all the lorbs. After collecting the first 3 lorbs, the rest of the shrine will be shown to you on the map. Below is the location of all the shrines you can find in Ratchet & Clank Rift Apart and how to obtain the lorbs.
Ratchet & Clank Rift Apart All Lorbs Location
1st Lorb
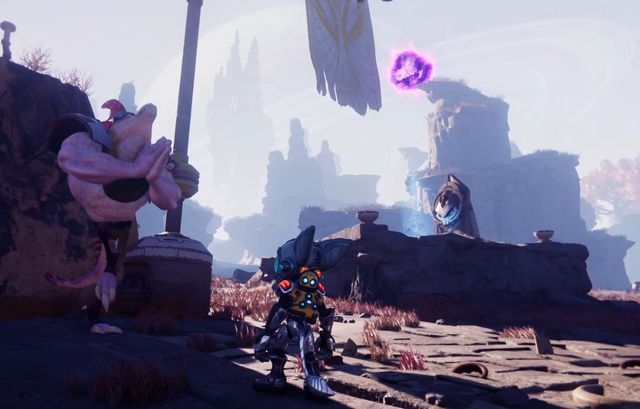
The first lorb location is just beside the monk scholar house who gives you the optional quest and will be shown to you in the cutscene.
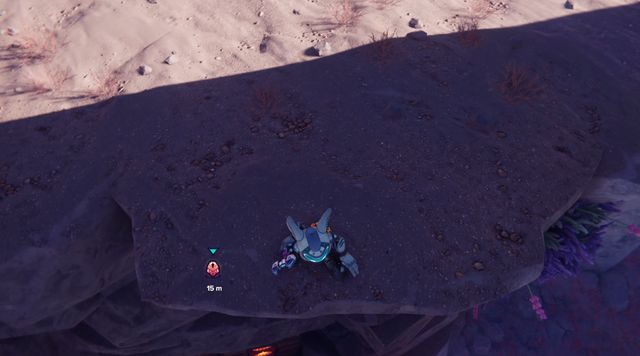
2nd Lorb
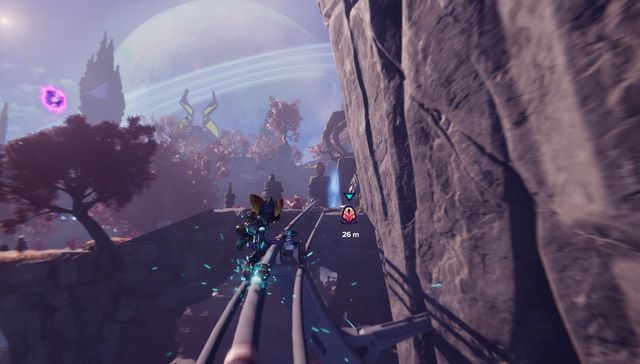
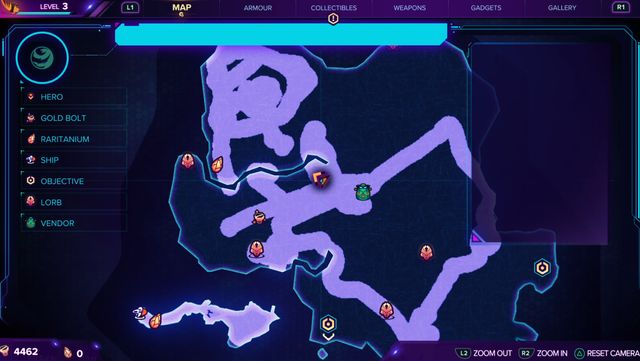
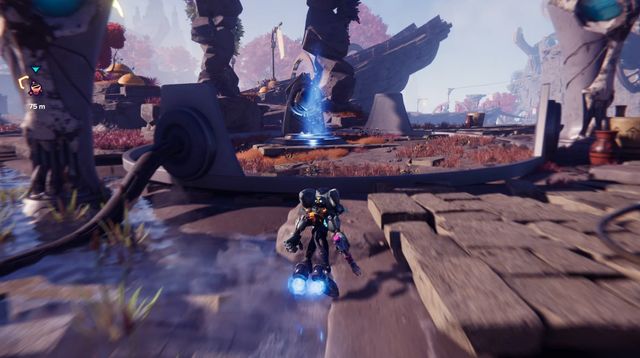
The second lorb can be found in the location shown above. You need to fight some indigenous creatures whom you need to kill to activate the shrine.
3rd Lorb
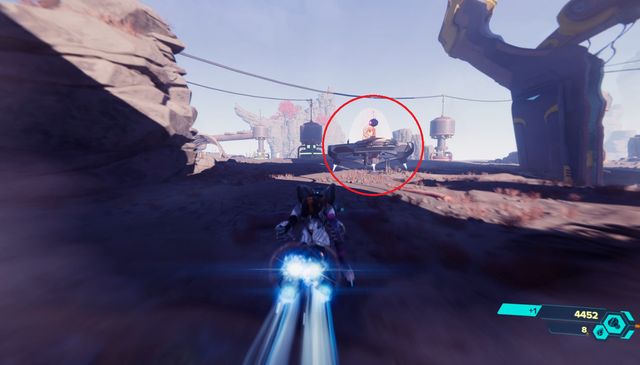
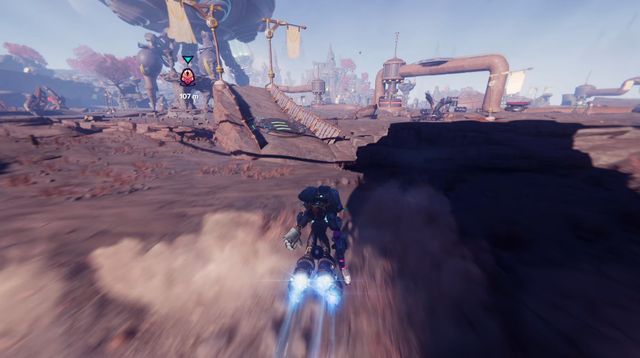
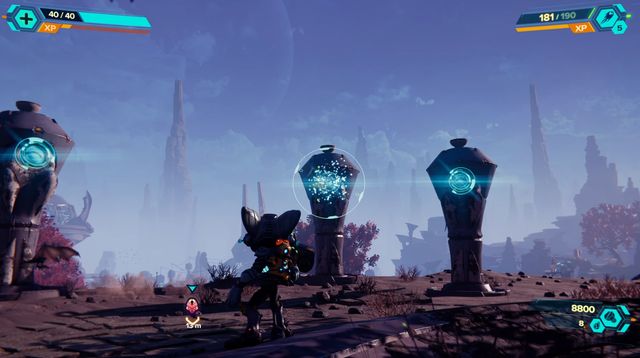
Visit the location circled in red in the above image where you need to save the monks. There you will find a robot running around in 4 legs with a shrine on its top that is blocked by a barrier. You need to use your hover boots to follow the robot. The moving pattern will be the same so you can take shortcuts to intercept it. Once you reach close enough use your hook to grapple onto the robot top and obtain the lorb.
4th Lorb

The 4th lorb is located at the top side of the map of Savali. This lorb is quite easy to obtain, you just need to reach the location shown above, go into the caves, and kill some creatures.
5th Lorb
To obtain the 5th lorb, you need to use your hover boots. Go to the location shown above and use your hover boat on the platform shown below to reach the lorb.
6th Lorb
The 6th lorb is located on the image shown above. Reach the location and defeat the creatures to obtain the lorb.
7th Lorb
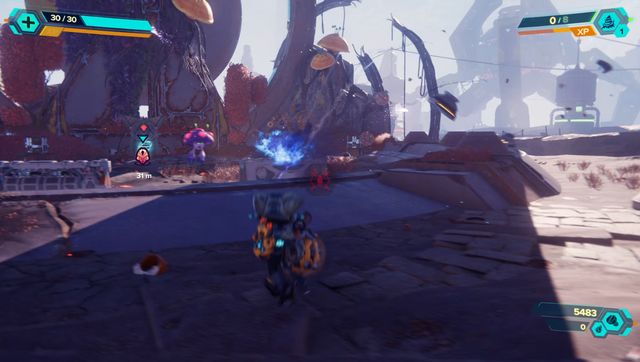
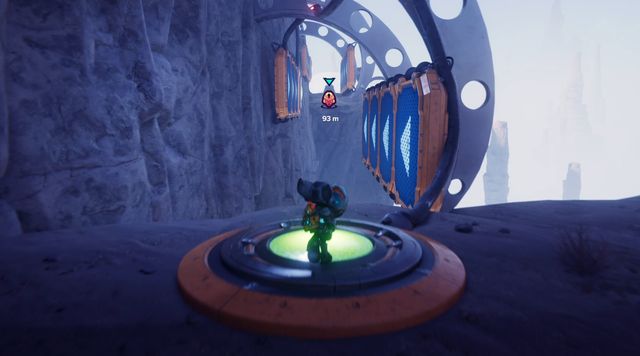
The 7th lorb is located shown in the image above where the character is. To obtain this lorb, you need to follow the cables connecting it and stand on the green switches to turn it blue. Once all the switches have been turned blue, the barrier will break and you can obtain the lorb from the shrine.
8th Lorb
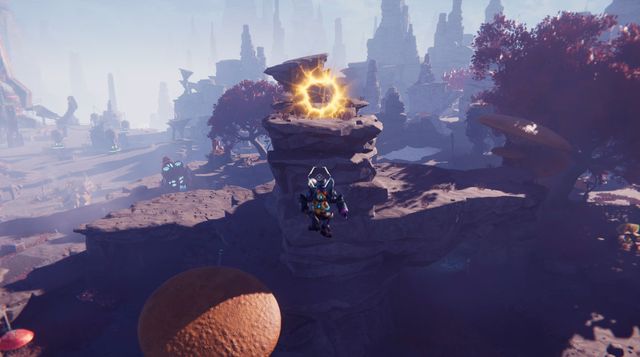
The 8th lorb is located on the cliff shown in the image above. To reach the cliff you need to use the mushroom to jump higher and use the rift to reach the cliff.
9th Lorb
Go to the location shown in the image above where the hero is. There you will find 4 statues and one of them will have a red light while the other will be blue. You need to hit the red lights with your gun and in the end, the shrine will appear in front of you. Collect the 9th lorb from the shrine.
10th Lorb
To collect the 10th orb reach the location of the hero shown above and look down the cliff. You will find a platform as shown in the image below. You need to complete a small task of wall-running and turn all the buttons blue from green to destroy the barrier to obtain the lorb.
11th Lorb
Visit the location of the hero as shown in the above image and look down the cliff. There you will find the 11th lorb behind the boxes.
12th Lorb

The final lorb is located on the southernmost island of the map. Once you cross the bridge to reach the island instead of going towards the left to reach the temple, go towards the right and you will find portals to jump. Use these portals to jump through the rocky pillars and then slide on the railing to reach the final shrine location.